While it’s unlikely you’ll damage a RimSaver and need to replace it, life happens, and our RimSaver replacement kit has everything you need to get the old one off and install a new one with ease. If you are looking for the full kit, go here.
The RimSaver Replacement Kit includes:
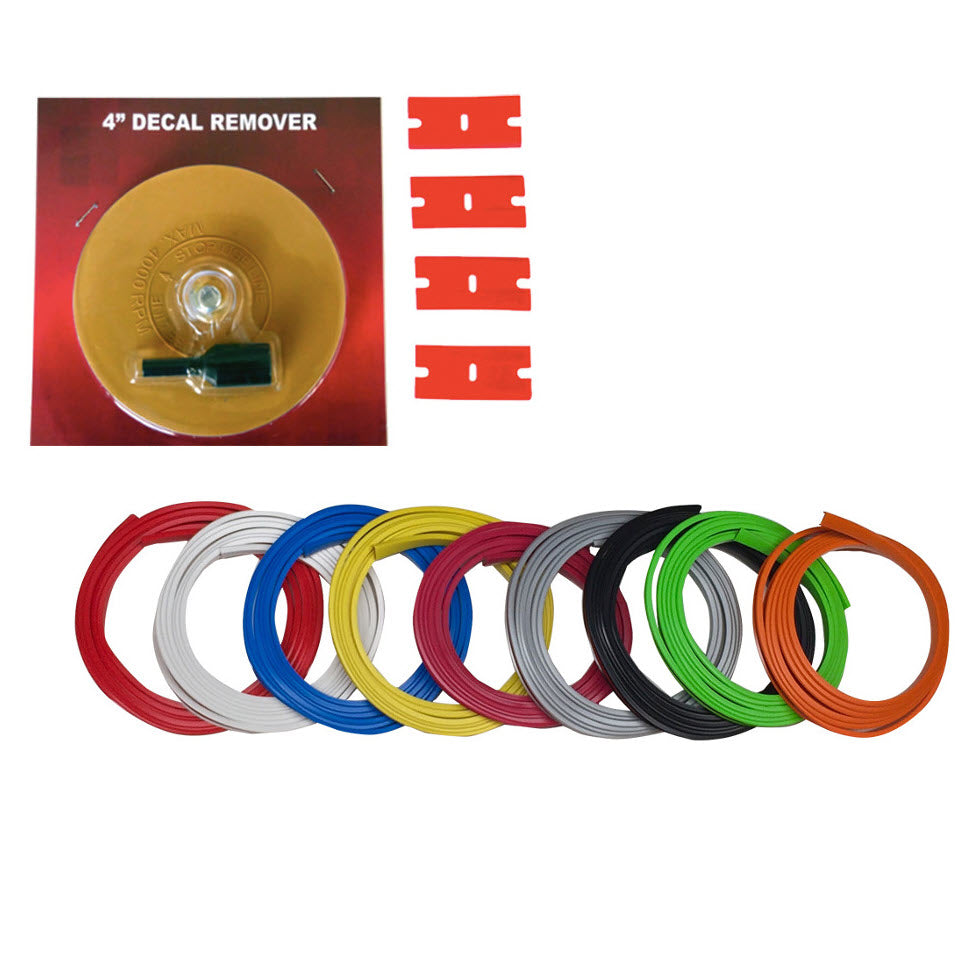
Refer to the video below for how to use the Decal Remover:
Please refer to the video below, you can skip-around as needed using the chapters. Just like feeding Gremlins after midnight, there's a couple of golden rules:
Yes. We recommend lightly sanding the damaged area with 600 grit sandpaper (aka Wet n Dry) to smooth the rough edges. The adhesive works best on smooth, flat surfaces. You should start the install on an undamaged area so it has a strong bond at the seam. The best indicator is if you can run your finger over it without snagging, you should be good to go.
RimSavers are excellent at protecting your rims from minor damage while parking. They are a layer of protection to help prevent curb damage. They can’t prevent damage caused by a pothole or any impact over 5mph. RimSavers are made from a proprietary mix of plastic and are UV stable. The construction is durable and easy to keep clean.
Not if installed correctly. We've been testing these for a year, which means they survived the Great Freeze of 2021, a Texas summer, and everything inbetween! RimSavers use 3M automotive VHB tape, and ship with both alcohol wipes and adhesion promotor wipes. The adhesive is as important, and as costly, as the protector itself, so beware of copy-cat products.
It is possible to change the tire without damage to the blade. The tire shop will need to take extra care when removing the tire. Adding tire lube to the blade allows the tire to slide by without pulling the blade off. Most tire shops are not aware of this process and will need reminding.
We sell a Replacement Kit that includes the chemical-free removal process shown in the video above. Alternatively, First, remove the RimSaver by popping off the cover piece and pulling from one end. To remove the adhesive, we recommend WD-40. The trick is to apply it generously and let it sit for at least 1 hour (if possible, spray on and let it sit overnight). Use a piece of plastic or wood to scrap off adhesive. Repeat as needed and use a rag to finish. Dawn dish soap works best to remove WD-40 and any remaining residue.
Fast worldwide shipping
Easy Returns
If something's not right, it'll be fixed. Period.